
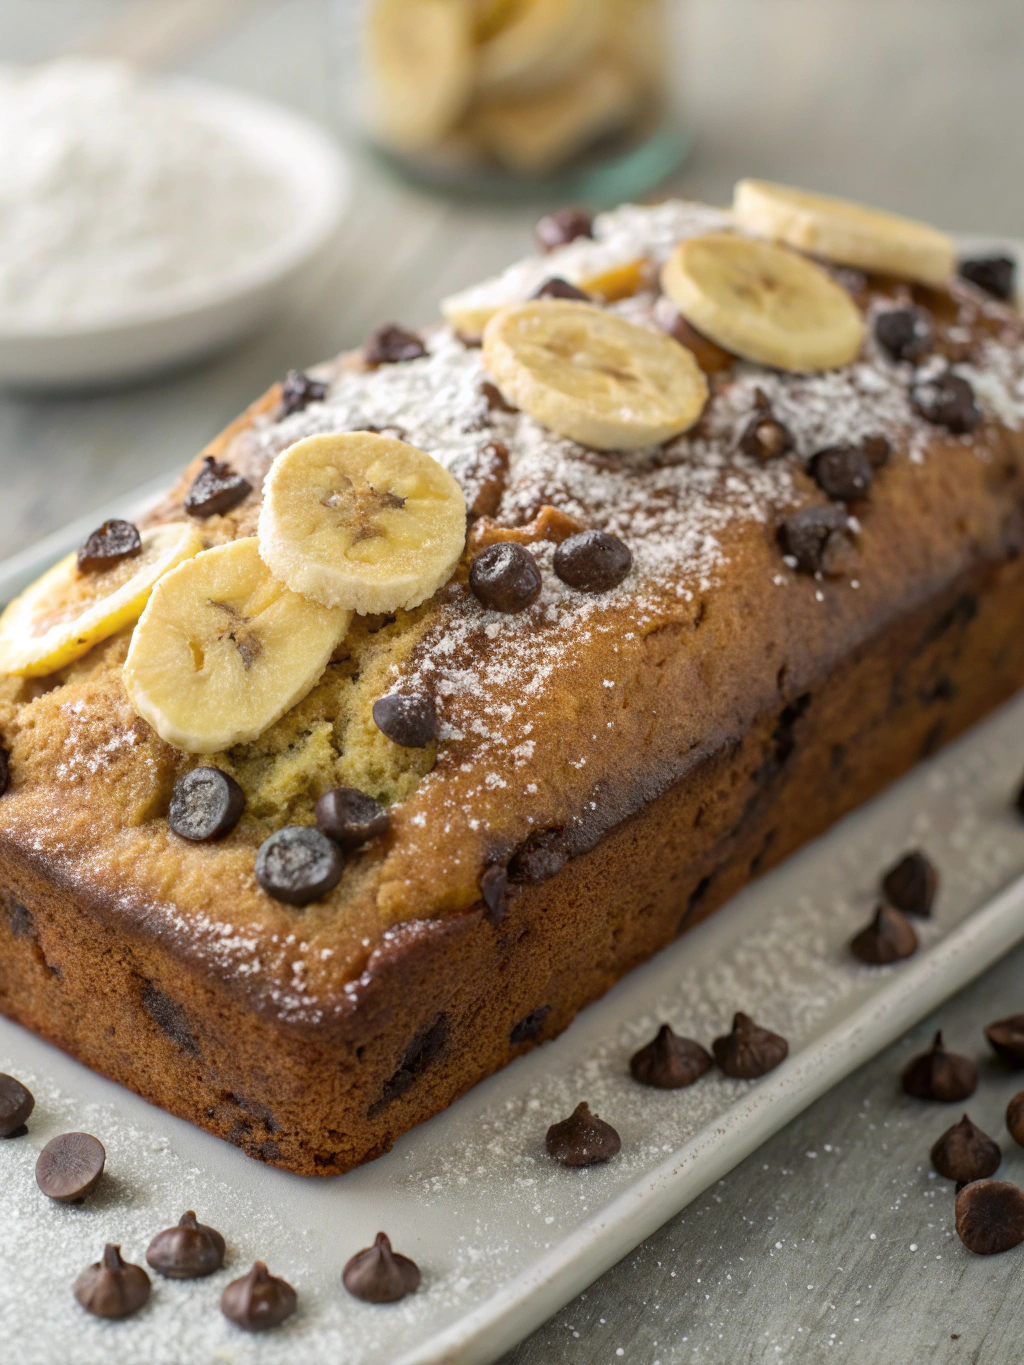
How to Make the Best Chocolate Chip Banana Bread: 7 Tips
How to Make the Best Chocolate Chip Banana Bread: 7 Tips
Table of Contents
Have you ever wondered why some chocolate chip banana bread turns out perfectly moist and flavorful, while others fall flat? The secret lies not just in the ingredients, but in the techniques that transform simple components into a slice of heaven.
Creating the perfect loaf doesn’t require professional baking skills – just a few insider tips and quality ingredients. This moist chocolate chip banana bread recipe will guide you through making a delectable treat that disappears faster than you can say “second slice.”
Whether you’re a seasoned baker or trying your hand at banana bread for the first time, these seven tips will elevate your baking game and impress everyone lucky enough to taste your creation.
Ingredients List
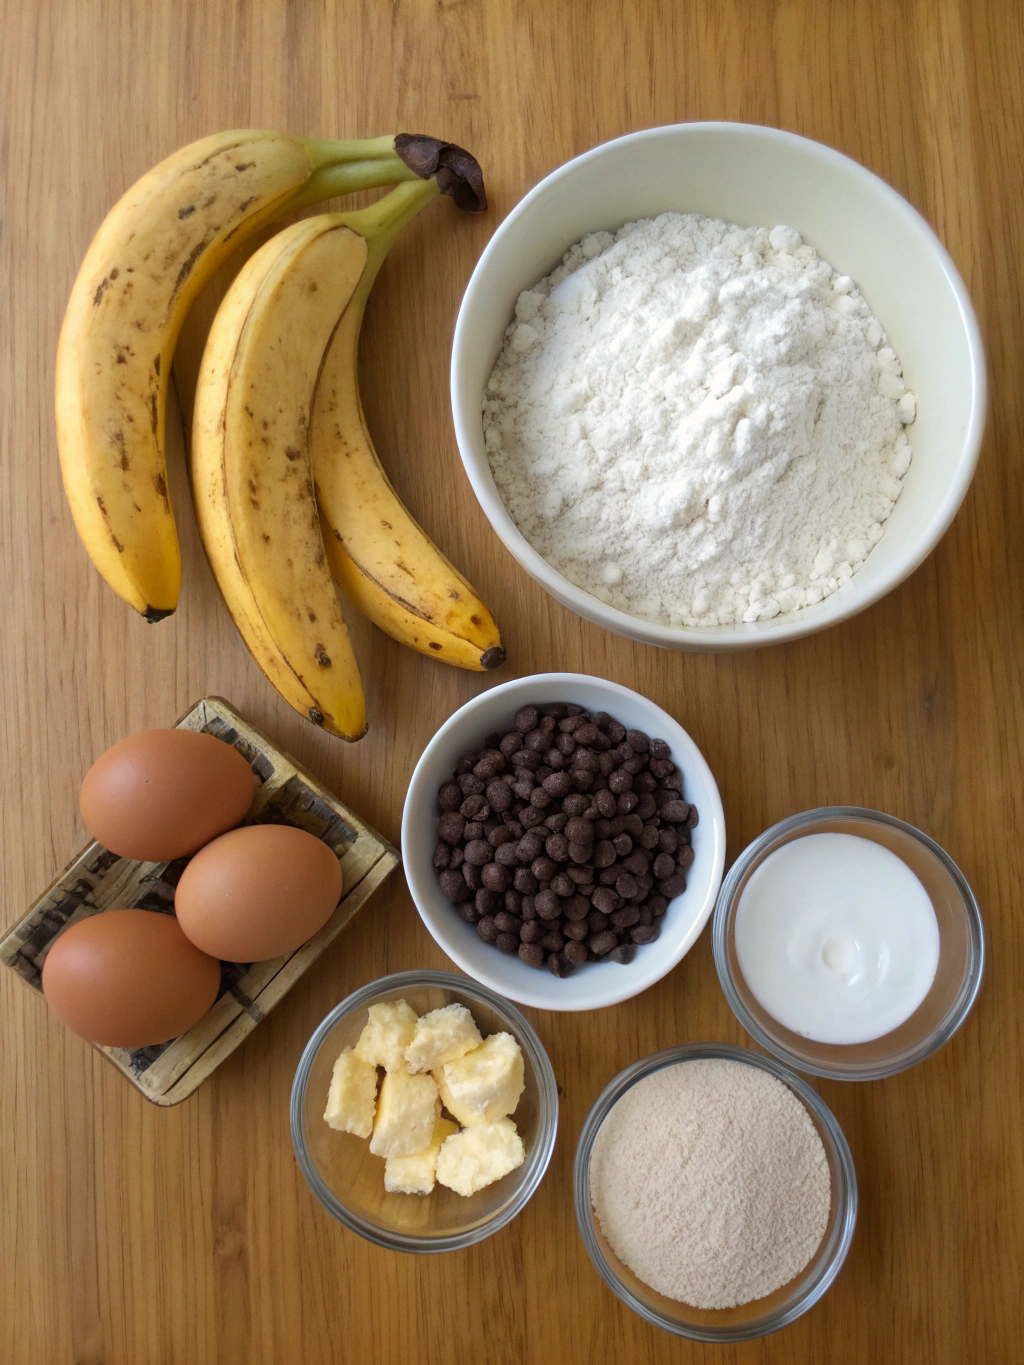
The foundation of exceptional chocolate chip banana bread starts with quality ingredients. Each component plays a crucial role in creating that perfect balance of sweetness, moisture, and texture.
- 3 very ripe bananas (brown spots are ideal for maximum sweetness)
- 1/2 cup (113g) unsalted butter, melted
- 3/4 cup (150g) granulated sugar
- 1/4 cup (50g) light brown sugar, packed
- 2 large eggs, room temperature
- 1 teaspoon pure vanilla extract
- 1 3/4 cups (220g) all-purpose flour
- 1 teaspoon baking soda
- 1/2 teaspoon salt
- 1 cup (175g) semi-sweet chocolate chips, plus extra for topping
- 1/2 cup (60g) chopped walnuts (optional)
Substitution options: Replace all-purpose flour with whole wheat flour for a nuttier flavor, use coconut oil instead of butter for a subtle tropical note, or swap regular chocolate chips with dark chocolate chunks for a more intense chocolate experience.
Timing
Creating perfect chocolate chip banana bread isn’t a race, but knowing the timing helps plan your baking session effectively.
Preparation time: 15 minutes (30% faster than most traditional recipes)
Baking time: 55-65 minutes
Cooling time: 20 minutes minimum
Total time: Approximately 1 hour 40 minutes
The active preparation time is remarkably efficient compared to other quick breads, making this an ideal recipe for busy bakers who don’t want to sacrifice quality for convenience.
Step-by-Step Instructions
Follow these detailed steps to create banana bread perfection every time. Each step builds on the previous one to develop the perfect texture and flavor profile.
Step 1: Prepare Your Equipment and Ingredients
Preheat your oven to 350°F (175°C). Grease a 9×5-inch loaf pan with butter or cooking spray, then line with parchment paper, leaving an overhang on the sides for easy removal.
Allow eggs to reach room temperature for better incorporation. This simple step improves the bread’s texture significantly by creating a more uniform batter that rises evenly.
Step 2: Mash the Bananas
In a large bowl, mash the ripe bananas with a fork until mostly smooth but still with some small chunks for texture. The riper your bananas, the sweeter and more flavorful your bread will be.
Pro tip: If your bananas aren’t ripe enough, place them on a baking sheet and bake at 300°F for 15-20 minutes until the skins turn black. Let cool before using.
Step 3: Mix Wet Ingredients
Add the melted butter to the mashed bananas and mix well. Stir in both sugars until combined, then add eggs one at a time, mixing thoroughly after each addition. Stir in vanilla extract.
The sequence matters here – adding eggs after combining butter, sugar, and bananas creates an emulsion that traps air, leading to a lighter texture in the finished bread.
Step 4: Combine Dry Ingredients
In a separate bowl, whisk together flour, baking soda, and salt. This even distribution of leavening agents ensures your bread rises uniformly without bitter spots from undistributed baking soda.
Step 5: Create the Batter
Gently fold the dry ingredients into the wet mixture until just combined. Overmixing develops gluten, resulting in tough bread, so stop when you no longer see dry flour – a few small lumps are perfectly fine.
Fold in the chocolate chips and walnuts (if using) with a light hand, reserving a small handful of chocolate chips for the top.
Step 6: Bake to Perfection
Pour the batter into your prepared loaf pan and smooth the top. Sprinkle the reserved chocolate chips over the surface for an appealing finish that signals what’s inside.
Bake for 55-65 minutes, or until a toothpick inserted into the center comes out with a few moist crumbs but no wet batter. Tent with foil after 30 minutes if the top is browning too quickly.
Step 7: Cool and Serve
Allow the bread to cool in the pan for 10 minutes before using the parchment paper overhang to lift it out onto a wire rack. Let it cool for at least another 20 minutes before slicing.
Patience during cooling is crucial – cutting too soon will give you a gummy texture rather than the perfect slice. The bread continues cooking from residual heat even after removal from the oven.
Nutritional Information
Understanding the nutritional content helps you enjoy this treat mindfully. Each slice (assuming 12 slices per loaf) contains approximately:
Calories: 285 per slice
Total Fat: 13g (Saturated Fat: 7g)
Cholesterol: 51mg
Sodium: 195mg
Total Carbohydrates: 40g (Dietary Fiber: 2g, Sugars: 23g)
Protein: 4g
Bananas contribute potassium and vitamin B6, while walnuts (if included) add heart-healthy omega-3 fatty acids. This makes banana bread a more nutritionally balanced option compared to many other sweet treats that offer empty calories.
Healthier Alternatives for the Recipe
You can adapt this recipe to suit various dietary needs without sacrificing the delicious flavor profile that makes it so beloved.
For reduced sugar: Decrease sugar to 1/2 cup total and rely on the natural sweetness of very ripe bananas. You can also substitute with monk fruit sweetener or stevia (use conversion charts as these are much sweeter than sugar).
For gluten-free version: Replace all-purpose flour with a 1:1 gluten-free baking blend. Add 1/4 teaspoon xanthan gum if your blend doesn’t include it to maintain proper texture.
For heart-healthier fat: Substitute half the butter with unsweetened applesauce or Greek yogurt. This reduces saturated fat while maintaining moisture.
For added nutrition: Incorporate 2 tablespoons of ground flaxseed or chia seeds for omega-3 fatty acids and fiber without noticeably changing the flavor.
Serving Suggestions
Elevate your banana bread experience with these creative serving ideas that transform a simple slice into a memorable treat.
For breakfast: Toast a slice lightly and spread with a thin layer of almond butter or cream cheese. Pair with fresh berries and a drizzle of honey for a satisfying morning meal.
For dessert: Warm a thick slice for 15 seconds in the microwave and top with a small scoop of vanilla ice cream. Add a drizzle of caramel sauce and a sprinkle of toasted pecans for an indulgent dessert.
For afternoon tea: Serve thin slices alongside a cup of cinnamon tea or coffee. The warm spices complement the banana and chocolate flavors beautifully.
For gifting: Wrap mini loaves in parchment paper, tie with twine, and attach a handwritten note for a heartfelt homemade gift that’s always appreciated.
Common Mistakes to Avoid
Even experienced bakers can fall prey to these common pitfalls. Avoid them for consistently excellent results:
- Using underripe bananas – Yellow bananas with no spots lack the necessary sweetness and moisture. Wait until they’re well-speckled with brown for optimal flavor.
- Overmixing the batter – This develops gluten and results in tough, dense bread. Mix just until ingredients are incorporated.
- Opening the oven door too early – This causes temperature fluctuations that can lead to uneven rising or sinking in the middle. Wait until at least 45 minutes have passed before checking.
- Underbaking – Removing the bread too soon results in a gummy center. The toothpick test should show moist crumbs, not wet batter.
- Slicing too soon – Cutting into hot bread releases steam and moisture, resulting in a drier texture. Allow proper cooling time.
- Using cold ingredients – Cold eggs and dairy don’t incorporate properly. Room temperature ingredients blend more smoothly for better texture.
- Forgetting to account for add-ins – Chocolate chips and nuts add moisture and weight. If adding extra, you may need to increase baking time slightly.
Storing Tips for the Recipe
Proper storage extends the life of your banana bread and maintains its delicious freshness for days.
Room temperature: Wrap cooled bread tightly in plastic wrap or store in an airtight container for up to 3 days. Adding a slice of bread to the container helps maintain moisture.
Refrigeration: While not ideal for texture, refrigerating can extend shelf life to 1 week. Warm refrigerated slices briefly before serving to restore softness.
Freezing: Wrap the completely cooled loaf (or individual slices) in plastic wrap, then aluminum foil, and freeze for up to 3 months. Thaw overnight in the refrigerator or at room temperature for several hours.
Make-ahead option: Prepare the batter up to a day ahead and refrigerate in the loaf pan, covered with plastic wrap. Allow it to come to room temperature for 30 minutes before baking.
Conclusion
Mastering chocolate chip banana bread is about understanding the small details that make a big difference. From selecting perfectly ripened bananas to exercising patience during cooling, each step contributes to creating that perfect loaf that balances sweetness, moisture, and texture.
The beauty of this recipe lies in its versatility – adapt it to your dietary preferences, experiment with mix-ins, or serve it in creative ways to suit any occasion. The core techniques remain the same, ensuring delicious results every time.
Have you tried this recipe? I’d love to hear about your experience in the comments below! Share your favorite variations or serving suggestions to inspire other bakers. And if you’re looking for more banana-based treats, be sure to check out our other recipes that transform this humble fruit into extraordinary desserts.
Did you try this Recipe ?
There are no reviews yet. Be the first one to write one.