
How to Make the Best Bread with Chocolate Recipe in 5 Simple Steps
How to Make the Best Bread with Chocolate Recipe in 5 Simple Steps
Table of Contents
Have you ever wondered why chocolate chip cookies get all the glory while bread with chocolate recipe options remain somewhat undiscovered? This culinary treasure combines the comforting warmth of freshly baked bread with the irresistible allure of chocolate – creating something truly magical in your kitchen.
Today, I’m sharing my perfected bread with chocolate recipe that strikes the perfect balance between sweet and satisfying. Whether you’re a baking novice or seasoned pro, these five simple steps will guide you to chocolate bread perfection.
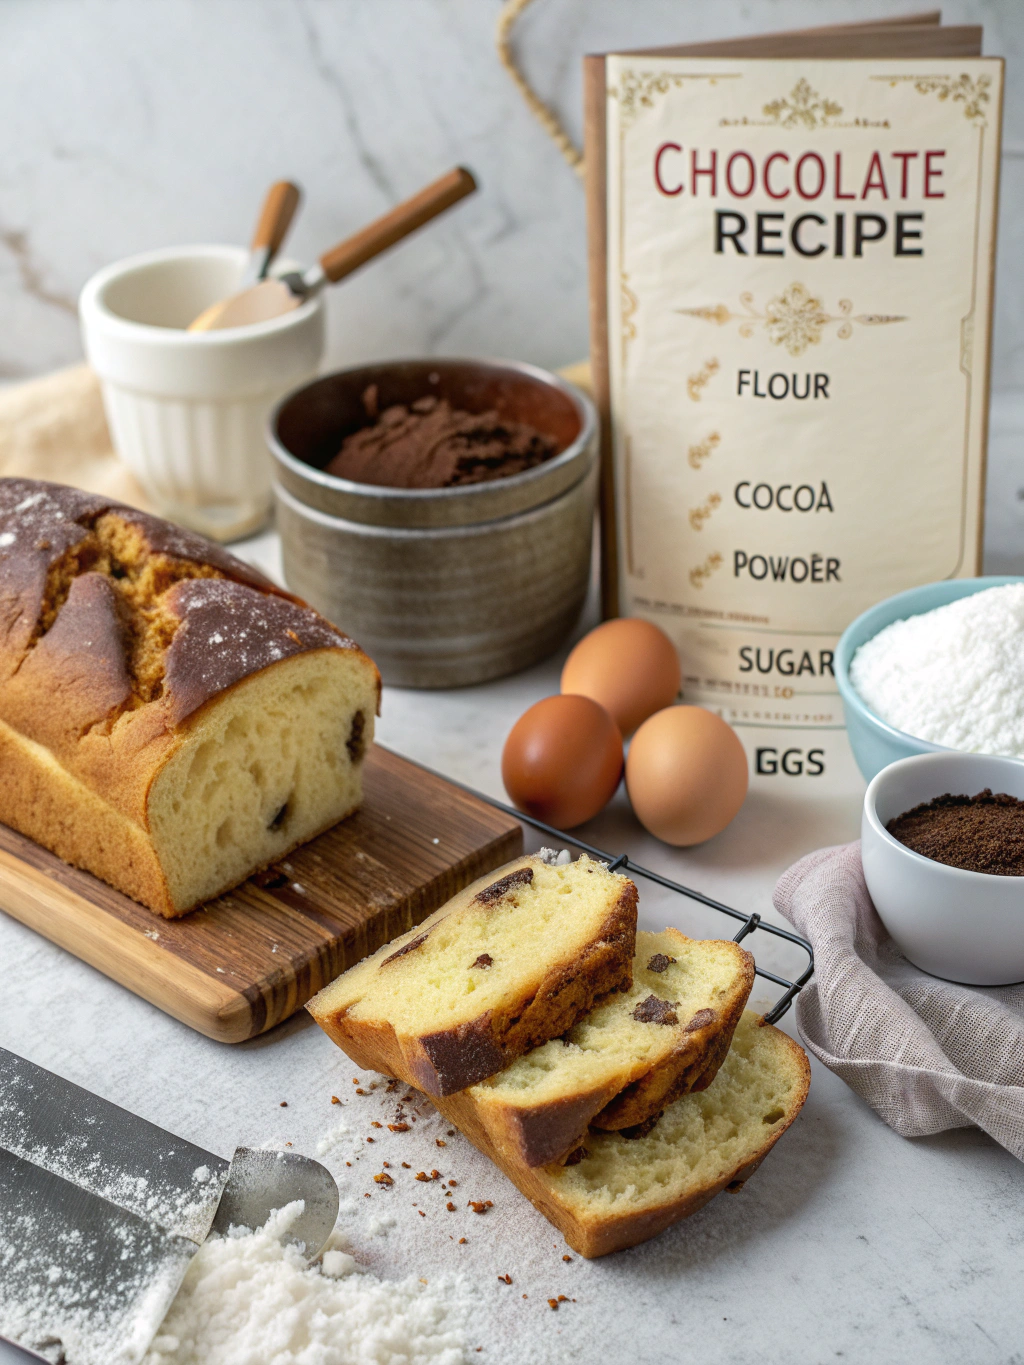
Ingredients List
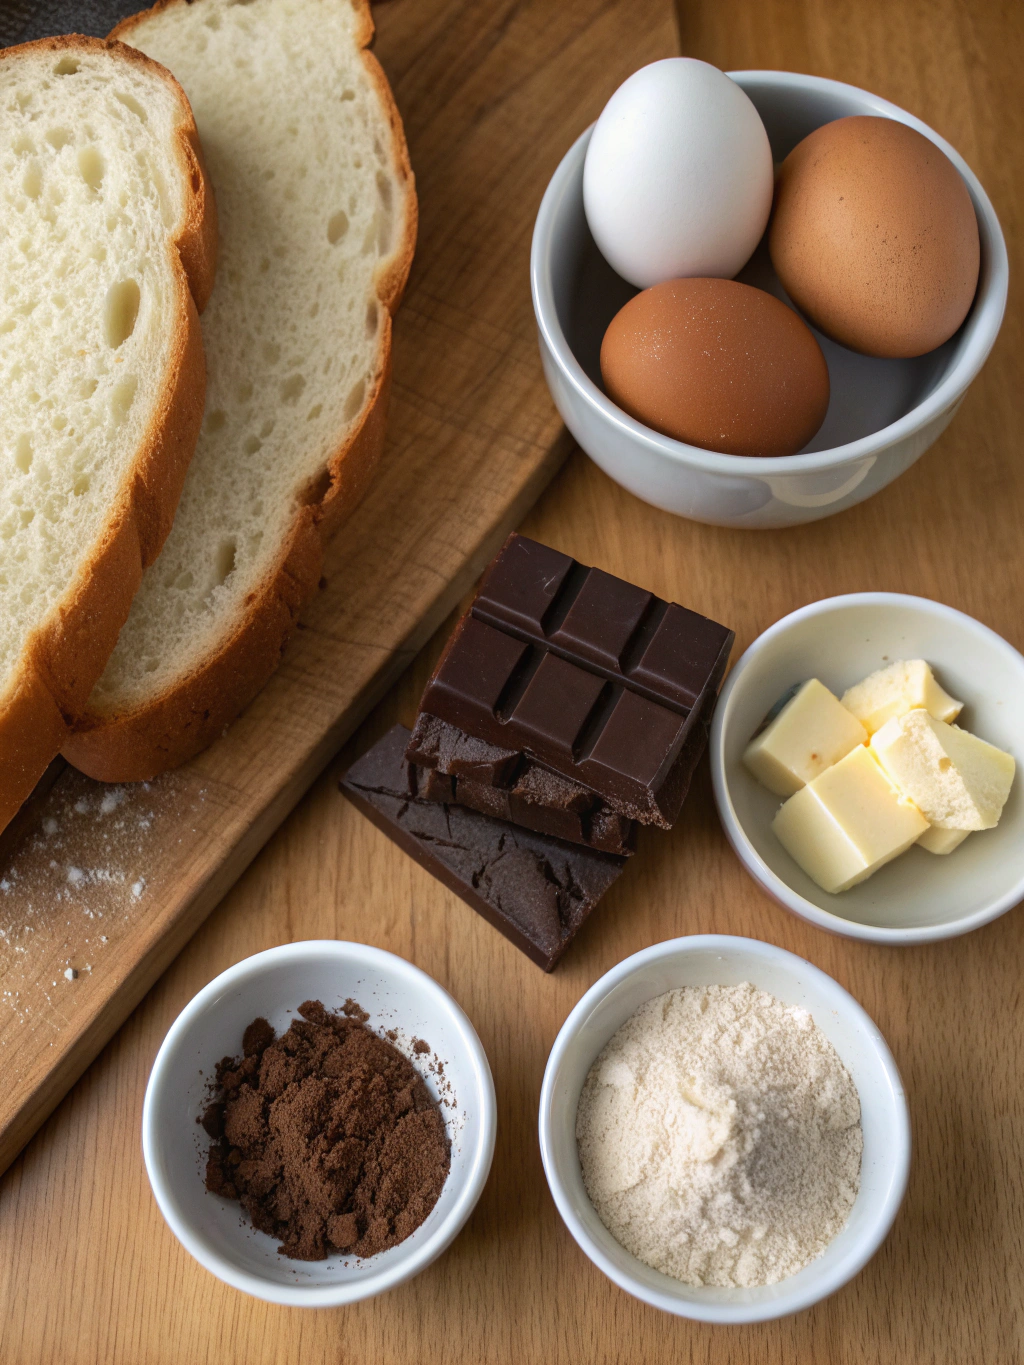
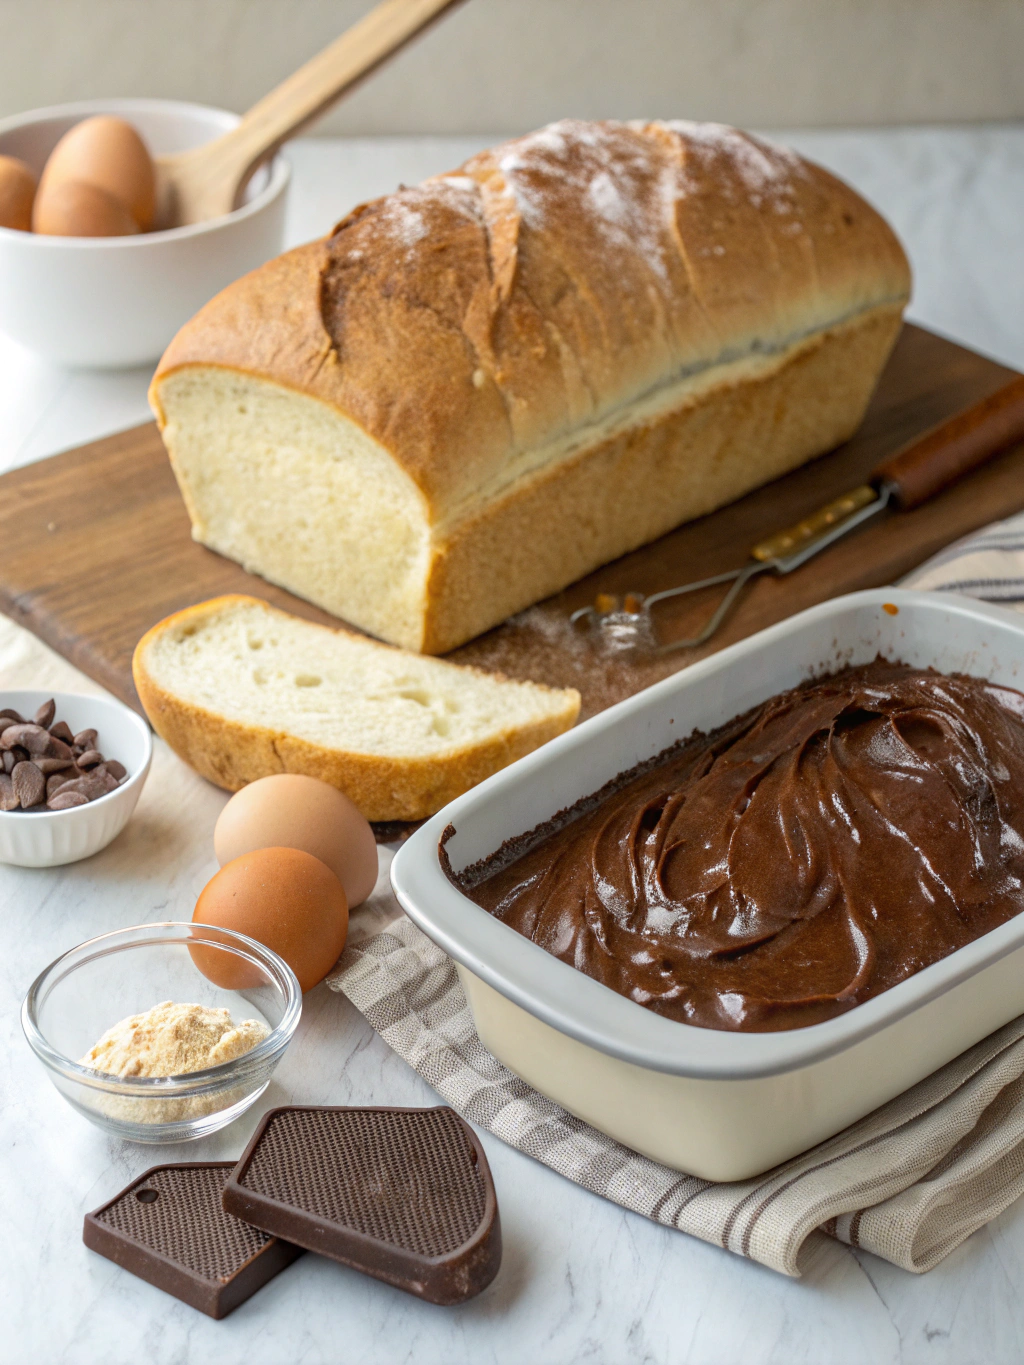
The secret to an exceptional chocolate and bread recipe lies in quality ingredients. Each component plays a crucial role in creating that perfect texture and flavor profile that makes this treat irresistible.
- 2¼ cups all-purpose flour (substitute with whole wheat flour for a nuttier flavor)
- ½ cup unsweetened cocoa powder (Dutch-processed for richer color)
- 1 teaspoon baking soda
- ½ teaspoon salt
- 1 cup granulated sugar (coconut sugar works as a less refined alternative)
- 1 cup buttermilk (or 1 cup milk with 1 tablespoon lemon juice as substitute)
- ⅓ cup vegetable oil (melted coconut oil offers a subtle flavor enhancement)
- 2 large eggs, room temperature
- 2 teaspoons vanilla extract
- 1 cup chocolate chips (dark, semi-sweet, or milk chocolate based on preference)
- Optional: ½ cup chopped nuts (walnuts or pecans work beautifully)
Timing
Creating this delectable bread with chocolate recipe requires about 75 minutes total – significantly less than traditional yeast-based bread recipes which can take 3+ hours.
Preparation time: 15 minutes for measuring and mixing ingredients
Baking time: 55-60 minutes (30% less if making mini loaves)
Cooling time: At least 20 minutes (though patience here improves slicing quality)
Step-by-Step Instructions
Step 1: Prepare Your Kitchen
Preheat your oven to 350°F (175°C) and position the rack in the center. Grease a 9×5-inch loaf pan thoroughly, then line with parchment paper, leaving overhang on the sides for easy removal.
Pro tip: Spraying the pan before adding parchment ensures the paper sticks in place while you pour in the batter, preventing messy spills.
Step 2: Mix Dry Ingredients
In a large bowl, whisk together the flour, cocoa powder, baking soda, and salt. This aeration process creates tiny air pockets that help your bread rise evenly.
For extra chocolate intensity, sift the cocoa powder to remove any lumps – this simple step improves both texture and flavor distribution throughout your loaf.
Step 3: Combine Wet Ingredients
In a separate medium bowl, whisk the sugar, buttermilk, oil, eggs, and vanilla extract until smooth and well combined. The mixture should look slightly frothy, indicating proper incorporation of air.
- Whisk eggs and sugar first until slightly lightened
- Add oil in a slow stream while whisking continuously
- Incorporate buttermilk and vanilla last
Step 4: Create and Enhance Your Batter
Pour the wet ingredients into the dry ingredients and stir just until combined. Overmixing activates gluten, resulting in a tougher bread, so stop when you no longer see dry flour pockets.
Gently fold in chocolate chips and nuts (if using) with a rubber spatula. Reserve a small handful of chocolate chips to sprinkle on top before baking for an appealing finish.
Step 5: Bake to Perfection
Transfer the batter to your prepared loaf pan, smoothing the top with a spatula. Sprinkle with reserved chocolate chips and bake for 55-60 minutes, or until a toothpick inserted in the center comes out with a few moist crumbs.
Allow the bread to cool in the pan for 10 minutes before transferring to a wire rack to cool completely. This patience prevents the delicate, warm loaf from breaking apart.
Nutritional Information
Understanding the nutritional profile of your bread with chocolate recipe helps you make informed choices about serving sizes and frequency. Each slice (assuming 12 slices per loaf) contains approximately:
Calories: 285 per slice
Carbohydrates: 42g (14% of daily recommended intake)
Protein: 4g
Fat: 12g
Fiber: 2g
Sugar: 24g
Calcium: 4% of daily recommended intake
Iron: 8% of daily recommended intake
Healthier Alternatives for the Recipe
This chocolate bread can be adapted to suit various dietary needs without sacrificing flavor. Consider these modifications for a healthier version:
Replace all-purpose flour with white whole wheat flour or a 50/50 blend to increase fiber content by approximately 2g per slice.
Reduce sugar to ¾ cup and add ¼ cup unsweetened applesauce for natural sweetness, cutting approximately 30 calories per slice.
Substitute half the oil with Greek yogurt to reduce fat content while maintaining moisture – this modification reduces fat by about 4g per slice.
Use dark chocolate chips (70% cacao or higher) instead of semi-sweet for increased antioxidant benefits and reduced sugar content.
Serving Suggestions
Transform your chocolate bread from a simple treat to a memorable dessert with these creative serving ideas:
Toast a slice lightly and top with a small scoop of vanilla bean ice cream for a warm-cold contrast that highlights the chocolate flavors.
Create a sophisticated breakfast by serving thin slices alongside fresh berries and a dollop of mascarpone cheese or Greek yogurt.
Cube leftover bread (slightly stale works best) to create a chocolate bread pudding with a splash of bourbon and orange zest for depth.
For an afternoon pick-me-up, spread a thin layer of almond butter on a slice and add sliced bananas for a protein-rich snack.
Common Mistakes to Avoid
- Overmixing the batter: This develops gluten and creates a tough, dense bread. Mix just until ingredients are combined for a tender crumb.
- Using cold ingredients: Room temperature eggs and buttermilk incorporate more evenly, creating a smoother batter and more uniform rise.
- Opening the oven door too early: This causes temperature fluctuations that can lead to sinking in the center. Wait until at least 45 minutes have passed before checking.
- Under-measuring cocoa powder: Unlike flour, cocoa should be packed slightly when measuring for full chocolate flavor. Too little results in a disappointing flavor profile.
- Cutting into the bread while hot: This releases steam and moisture prematurely, resulting in a drier texture. Allow at least 20 minutes of cooling time.
Storing Tips for the Recipe
Proper storage maintains the freshness and flavor of your chocolate bread, extending its enjoyment period significantly.
At room temperature, store completely cooled bread wrapped in plastic wrap or in an airtight container for up to 3 days. Adding a slice of bread to the container helps maintain moisture.
Refrigerate for up to 1 week in an airtight container. Bring to room temperature before serving, or lightly toast to refresh texture.
For longer storage, freeze individual slices wrapped in plastic wrap and aluminum foil for up to 3 months. Thaw at room temperature or toast from frozen for a quick treat.
Pre-slice before freezing for convenience – this allows you to take just what you need without thawing the entire loaf.
Conclusion
This chocolate bread recipe strikes the perfect balance between everyday quick bread and decadent chocolate treat. The simple preparation belies its complex flavors – rich chocolate notes complemented by a tender, moist crumb that keeps you coming back for “just one more slice.”
Have you tried making this chocolate bread? I’d love to hear about your experience in the comments below! Did you try any of the healthier alternatives or creative serving suggestions? Share your photos and adaptations – your feedback helps our baking community grow and improve together!
Did you try this Recipe ?
There are no reviews yet. Be the first one to write one.