
How to Make an Easy Cocoa Cake in Just 7 Steps
How to Make an Easy Cocoa Cake in Just 7 Steps
Table of Contents
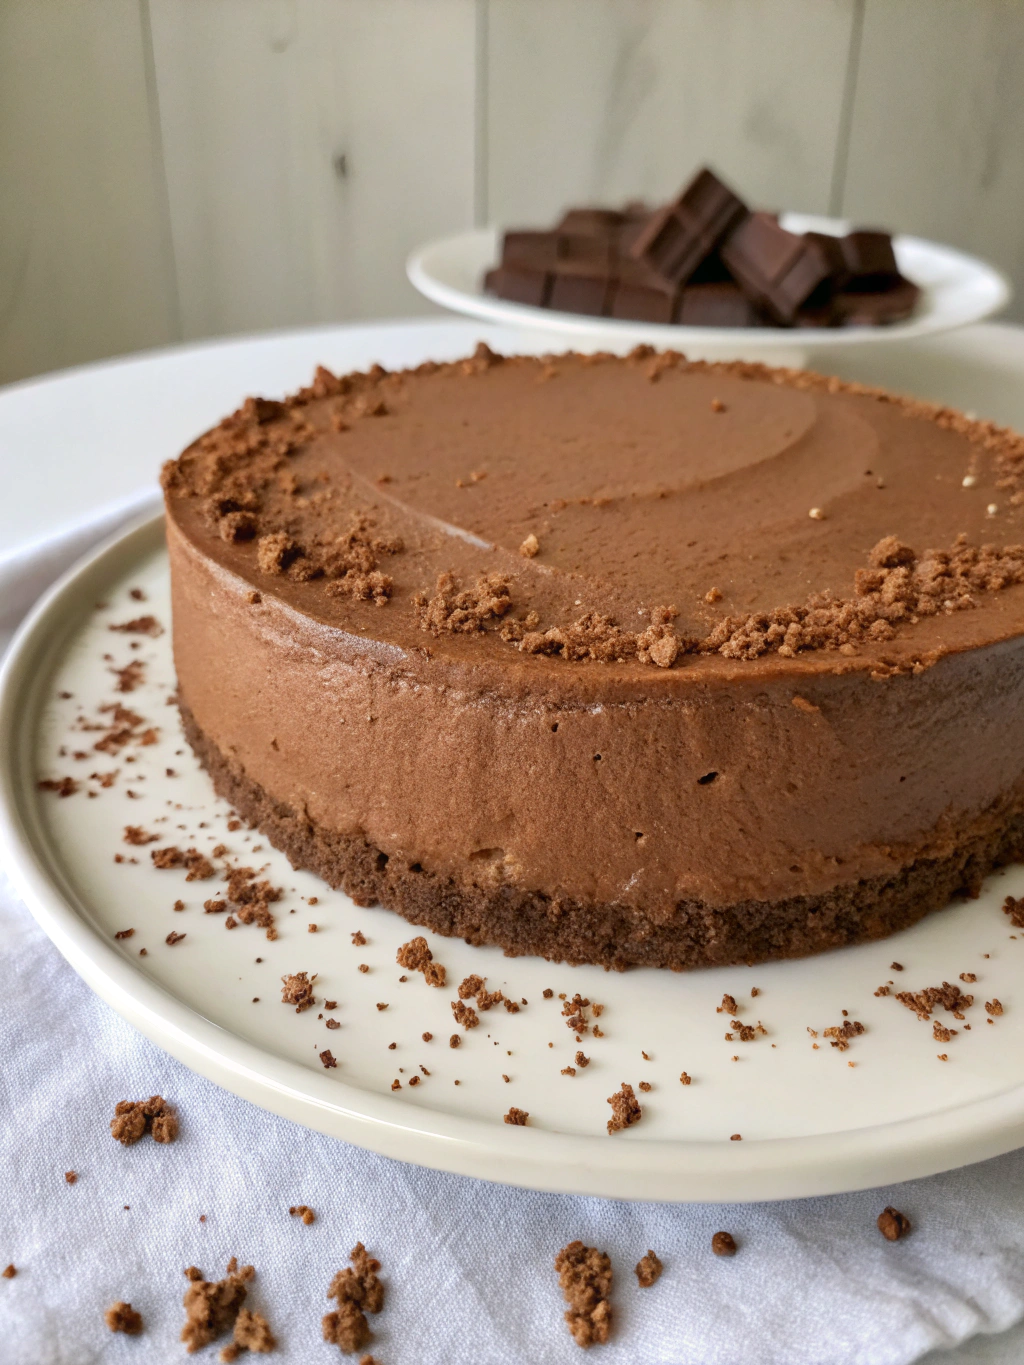
Have you ever craved a delicious chocolate cake but felt intimidated by complex recipes with endless steps? What if I told you that you could create a mouthwatering easy cocoa cake with just a few simple ingredients and minimal effort?
This easy cocoa cake recipe has been my go-to for last-minute gatherings and midnight sweet cravings. The beauty lies in its simplicity – no fancy equipment or obscure ingredients needed. Just straightforward steps that yield a moist, rich chocolate cake that tastes like you spent hours in the kitchen.
Whether you’re a baking novice or a seasoned pro looking for a reliable quick fix, this recipe delivers consistent results every time. Let’s dive into creating this delectable treat that will soon become your favorite as well!
Ingredients List
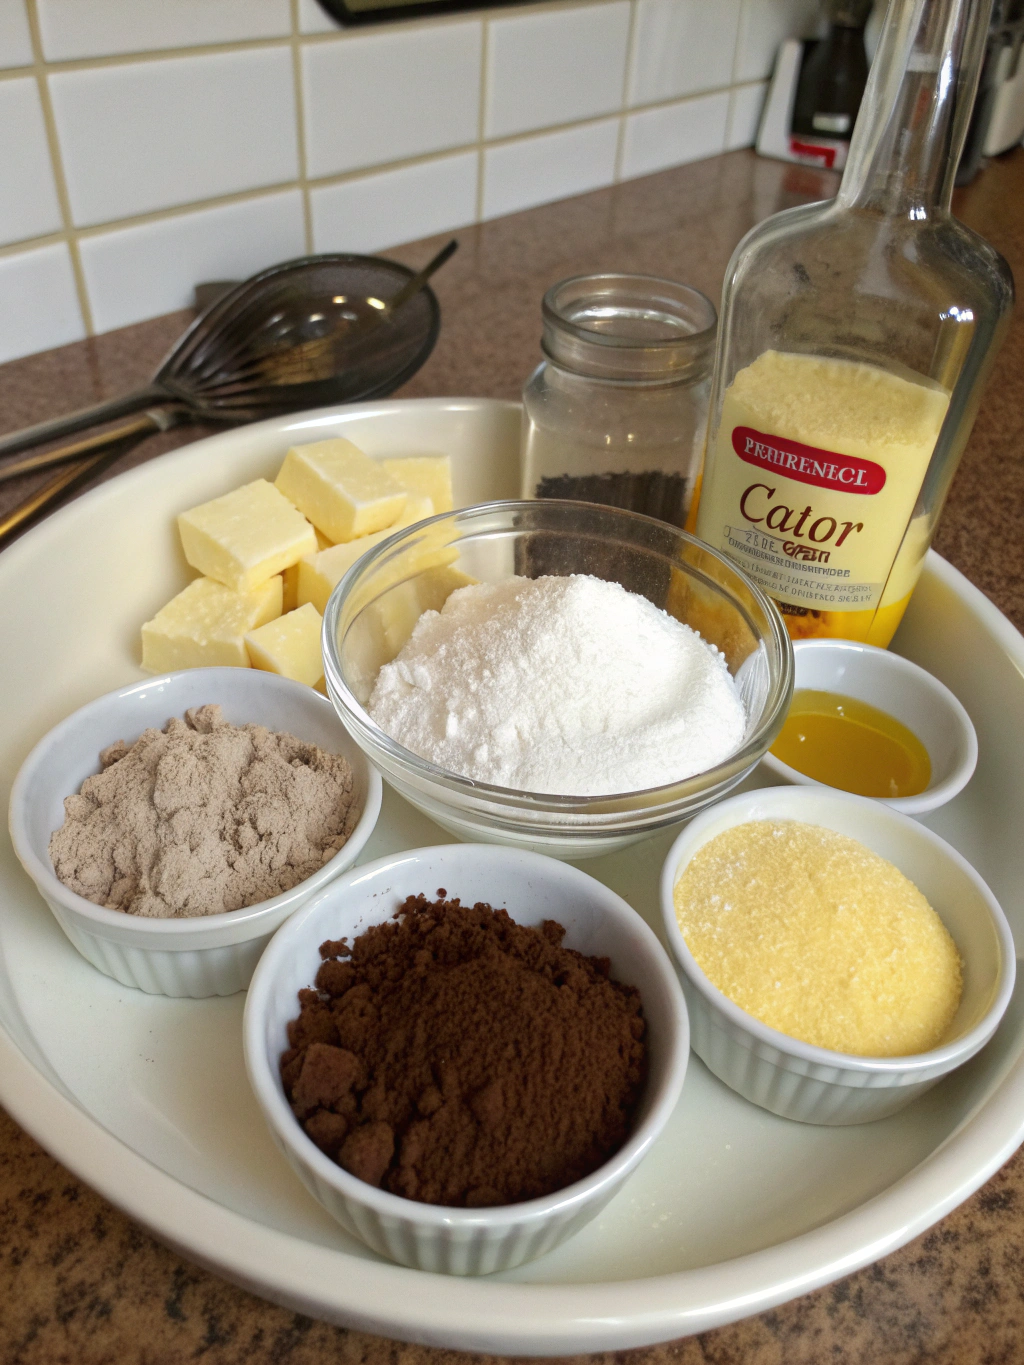
Gathering the right ingredients is the first step to creating your perfect easy cocoa cake. The beauty of this recipe is that most items are likely already in your pantry!
- 1¾ cups all-purpose flour (substitute with gluten-free flour blend for a gluten-free version)
- 2 cups granulated sugar (can use coconut sugar for a less refined option)
- ¾ cup unsweetened cocoa powder (Dutch-processed gives a richer flavor)
- 1½ teaspoons baking powder
- 1½ teaspoons baking soda
- 1 teaspoon salt
- 2 large eggs, room temperature (flax eggs work for a vegan alternative)
- 1 cup whole milk or buttermilk (almond or oat milk works for dairy-free)
- ½ cup vegetable oil (or melted coconut oil)
- 2 teaspoons pure vanilla extract
- 1 cup boiling water recipe (coffee can be substituted for enhanced chocolate flavor)
The secret to this cake’s incredible moisture is the boiling water added at the end, which activates the cocoa powder and creates that irresistible fudgy texture we all crave in a chocolate cake.
Timing
One of the best features of this easy cocoa cake is how quickly it comes together compared to traditional cake recipes.
Preparation Time: 15 minutes
Baking Time: 30-35 minutes
Cooling Time: 20 minutes
Total Time: 65-70 minutes
This total time is approximately 30% faster than most homemade chocolate cake recipes, which typically require 90+ minutes from start to finish. The simplified mixing method eliminates the need for creaming butter and sugar, saving you valuable time without sacrificing flavor.
Step-by-Step Instructions
Step 1: Prepare Your Baking Equipment
Preheat your oven to 350°F (175°C). Grease and flour two 9-inch round cake pans, or line them with parchment paper. For easier cleanup, I recommend using parchment circles at the bottom and a light spray of cooking oil on the sides. This ensures your cake releases perfectly every time.
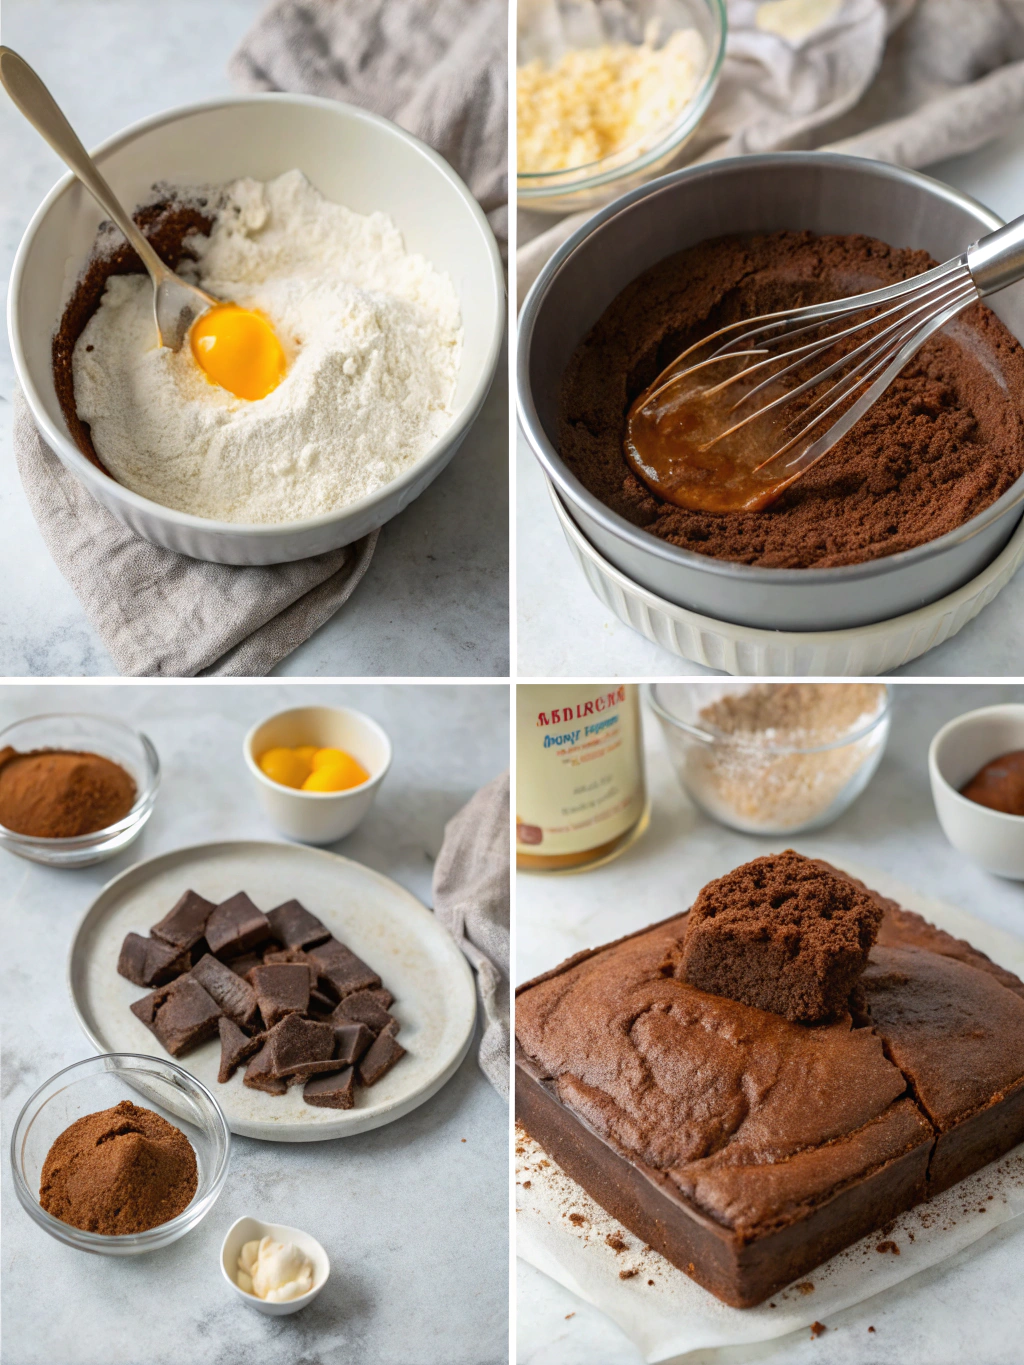
Step 2: Mix Dry Ingredients
In a large mixing bowl, whisk together the flour, sugar, cocoa powder, baking powder, baking soda, and salt until well combined. Make sure to break up any cocoa powder lumps for a smooth batter. A quick sifting of the cocoa powder can help prevent lumps if your powder tends to clump.
Step 3: Add Wet Ingredients
Add the eggs, milk, oil, and vanilla extract to the dry ingredients. Using an electric mixer, beat on medium speed for about 2 minutes. The batter will be thick at this stage, but don’t worry – that’s exactly how it should be. Scrape down the sides of the bowl to ensure everything is incorporated.
Step 4: Incorporate Boiling Water
Carefully stir in the boiling water (or hot coffee). The batter will become very thin – this is normal and the key to the cake’s moist texture! Mix until just combined. Be careful not to overmix, as this can make your cake tough rather than tender.
Step 5: Bake the Cake
Pour the batter evenly into the prepared pans. Tap the pans gently on the counter to remove any air bubbles. Bake for 30-35 minutes, or until a toothpick inserted into the center comes out with a few moist crumbs (not wet batter). Avoid opening the oven door during the first 25 minutes of baking.
Step 6: Cool Properly
Allow the cakes to cool in the pans for 10 minutes. Then, carefully turn them out onto wire racks to cool completely. Rushing this step can cause your cake to break or become gummy, so patience is key for the perfect texture.
Step 7: Frost and Serve
Once completely cooled, frost with your favorite frosting. A simple chocolate ganache or buttercream works wonderfully. For a quick option, dust with powdered sugar or serve with fresh berries and whipped cream. Let the cake rest for 15 minutes after frosting for easier slicing.
Nutritional Information
Understanding the nutritional content helps you enjoy this treat mindfully. Each serving (1/12th of the cake, unfrosted) contains approximately:
• Calories: 320
• Total Fat: 12g
• Saturated Fat: 2g
• Cholesterol: 31mg
• Sodium: 330mg
• Total Carbohydrates: 52g
• Dietary Fiber: 2g
• Sugars: 35g
• Protein: 4g
This cake provides about 15% of your daily iron requirements, thanks to the cocoa powder. While it’s certainly a treat, the moderate fat content (compared to butter-based cakes) makes it a slightly lighter option in the dessert category.
Healthier Alternatives for the Recipe
You can make this indulgent treat a bit more nutritious with these smart substitutions:
• Replace half the all-purpose flour with whole wheat pastry flour for added fiber without compromising texture.
• Reduce sugar to 1½ cups and add ¼ cup of unsweetened applesauce for natural sweetness and moisture.
• Substitute the oil with an equal amount of Greek yogurt to cut fat while maintaining moisture. This swap reduces calories by approximately 25% per serving.
• For a naturally sweetened version, use pure maple syrup or honey (¾ cup) in place of granulated sugar, adjusting the liquid ingredients slightly.
• Add 2 tablespoons of ground flaxseed to the dry ingredients for an omega-3 boost that’s virtually undetectable in the final product.
Serving Suggestions
Elevate your cake experience with these creative serving ideas:
• Create a “dessert affogato” by serving a warm slice with a scoop of vanilla ice cream and a shot of espresso poured over top.
• For a festive touch, use cookie cutters to shape cake slices and create a stunning dessert board with various toppings and sauces.
• Transform leftovers into cake pops by crumbling the cake, mixing with a bit of frosting, forming into balls, and dipping in melted chocolate.
• Layer cake pieces in clear glasses with whipped cream and berries for elegant individual trifles that look impressive at dinner parties.
• For breakfast-inspired dessert, toast thin slices and serve with mascarpone and a drizzle of honey – reminiscent of chocolate bread but so much more decadent!
Common Mistakes to Avoid
- Overmixing the batter: This develops gluten and results in a tough, dense cake instead of a tender crumb. Mix just until ingredients are combined.
- Using cold eggs: Room temperature eggs incorporate much better into the batter. If you forget, place eggs in warm water for 5 minutes before using.
- Opening the oven too early: This causes temperature fluctuations that can lead to uneven rising or sinking. Wait until at least 25 minutes into baking before checking.
- Inaccurate measurements: Especially with flour and cocoa powder. Spoon these ingredients into measuring cups rather than scooping directly from containers, which compacts them.
- Frosting a warm cake: This melts the frosting and can tear the cake. Patience yields much better results!
Storing Tips for the Recipe
Proper storage ensures your cake stays fresh and delicious for days:
At room temperature, store unfrosted cake in an airtight container for up to 3 days. The cake actually improves after the first day as flavors meld!
Refrigerate frosted cake in a covered container for up to 5 days. Bring slices to room temperature before serving for the best flavor and texture.
For longer storage, freeze unfrosted cake layers wrapped tightly in plastic wrap and aluminum foil for up to 2 months. Thaw overnight in the refrigerator before frosting.
Pre-slice leftover cake before freezing for convenient single servings. Wrap individual pieces in plastic wrap, then place in a freezer bag to prevent freezer burn.
If making ahead for an event, bake and freeze cake layers up to 2 weeks in advance, then thaw and frost the day before serving for that fresh-baked taste with less stress.
Conclusion
This seven-step easy cocoa cake proves that spectacular desserts don’t require culinary school training or hours in the kitchen. With simple ingredients and straightforward techniques, you’ve created a chocolate cake that rivals those from high-end bakeries.
The magic of this recipe lies in its versatility – dress it up for special occasions or keep it simple for everyday indulgence. The boiling water technique creates that irresistible moist texture that will have everyone asking for your secret.
Have you tried this recipe? I’d love to hear about your experience in the comments below! Share your frosting choices or any creative twists you added to make it your own. And if you’re looking for more quick dessert ideas, be sure to subscribe to our newsletter for weekly inspiration delivered straight to your inbox!
Did you try this Recipe ?
There are no reviews yet. Be the first one to write one.