
How to Make Irresistible Homemade Chocolate Ice Cream with Machine in 5 Easy Steps
Table of Contents
Introduction
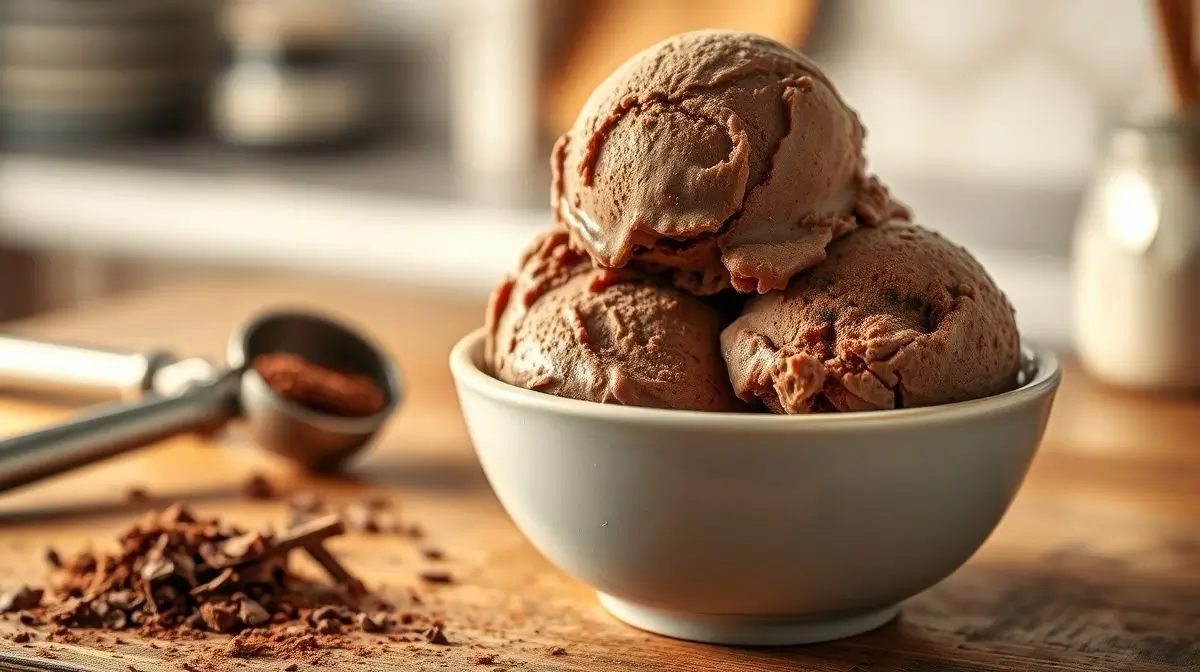
Craving a frozen treat? Imagine the velvety richness of homemade chocolate ice cream flowing over your taste buds. Did you know that making this heavenly treat at home with a machine is not only possible but also surprisingly easy? In fact, with just 5 simple steps, you could be indulging in a dessert that’s not only irresistible but also crafted to your exact preferences. Eager to elevate your homemade dessert skills? Let’s dive right in and discover how!
Ingredients List
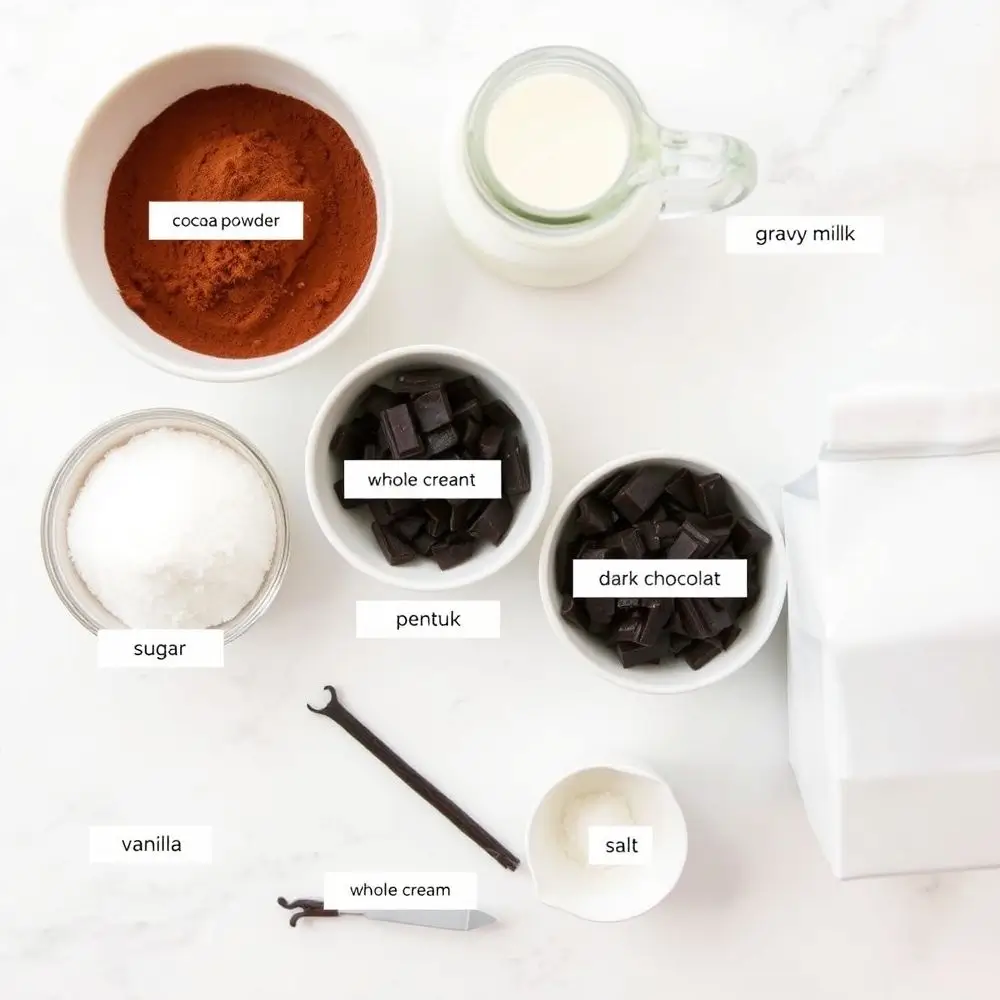
To create this irresistible homemade chocolate ice cream, gather the following ingredients:
- 2 cups of heavy cream (or coconut cream for a dairy-free option)
- 1 cup of whole milk (or almond milk as a substitute)
- 3/4 cup of granulated sugar (or honey for a natural sweetener)
- 2/3 cup of unsweetened cocoa powder (use high-quality for intense flavor)
- A pinch of salt
- 1 teaspoon of pure vanilla extract (try using the seeds from 1 vanilla pod for an aromatic twist)
- 150 grams of high-quality dark chocolate, chopped (optional, for extra richness)
Timing
Here’s how much time you’ll need:
- Preparation time: 15 minutes
- Cooking time: 5 minutes (plus 30 minutes to cool)
- Churning time: 20-30 minutes (depending on your machine)
- Freezing time: 2 hours (for optimal consistency)
- Total time: Around 3 hours (but remember, 90 minutes is active time, which is 20% less than many traditional recipes!)
Step 1: Prepare Your Ingredients
Gather all your ingredients and have them measured out and ready to go. This ensures a smooth process and helps you avoid any mid-recipe scrambles. Ensure your ice cream machine’s bowl is properly frozen in advance (usually 24 hours before churning).
Step 2: Make the Chocolate Base
In a medium saucepan, whisk together the milk, sugar, cocoa powder, and salt over medium heat. Continue whisking until the mixture is smooth and starts to simmer. Do not let it boil. Remove from heat and add the chopped dark chocolate (if using). Stir until the chocolate is fully melted and the mixture is glossy. Allow it to cool to room temperature.
Step 3: Add Cream and Vanilla
After the mixture has cooled to room temperature, gently mix in the heavy cream and vanilla. Mix thoroughly until well combined. You should have a smooth, luscious chocolate mixture. For an even silkier texture, consider straining the mixture through a fine-mesh sieve to remove any cocoa clumps.
Step 4: Churn the Ice Cream
Transfer the mixture to your ice cream maker and churn it as directed by your machine’s manual. This typically takes about 20-30 minutes until the ice cream reaches a soft-serve consistency.
Step 5: Freeze to Perfection
Transfer the churned ice cream to an airtight container and freeze for at least 2 hours or until firm. For best results, press a piece of plastic wrap directly onto the surface of the ice cream before sealing the container to prevent ice crystals.
Nutritional Information
Per serving (approximately 1/2 cup):
- Calories: 250
- Total Fat: 18g (23% DV)
- Saturated Fat: 11g (55% DV)
- Cholesterol: 55mg (18% DV)
- Sodium: 50mg (2% DV)
- Total Carbohydrates: 20g (7% DV)
- Dietary Fiber: 2g (7% DV)
- Sugars: 15g
- Protein: 3g
Healthier Alternatives for the Recipe
Want to enjoy your chocolate ice cream with a healthier twist? Here are a few alternatives:
- Dairy-Free: Use coconut cream instead of heavy cream and almond milk in place of whole milk.
- Low-Sugar: Reduce the sugar to 1/2 cup or use a sugar substitute like stevia or erythritol.
- Vegan: Use plant-based alternatives as mentioned above and ensure your chocolate is dairy-free. You can also use agave syrup or maple syrup as a sweetener.
- Add Superfoods: Boost the nutritional profile by adding a tablespoon of chia seeds or blending in some avocado for extra creaminess and healthy fats.
Serving Suggestions
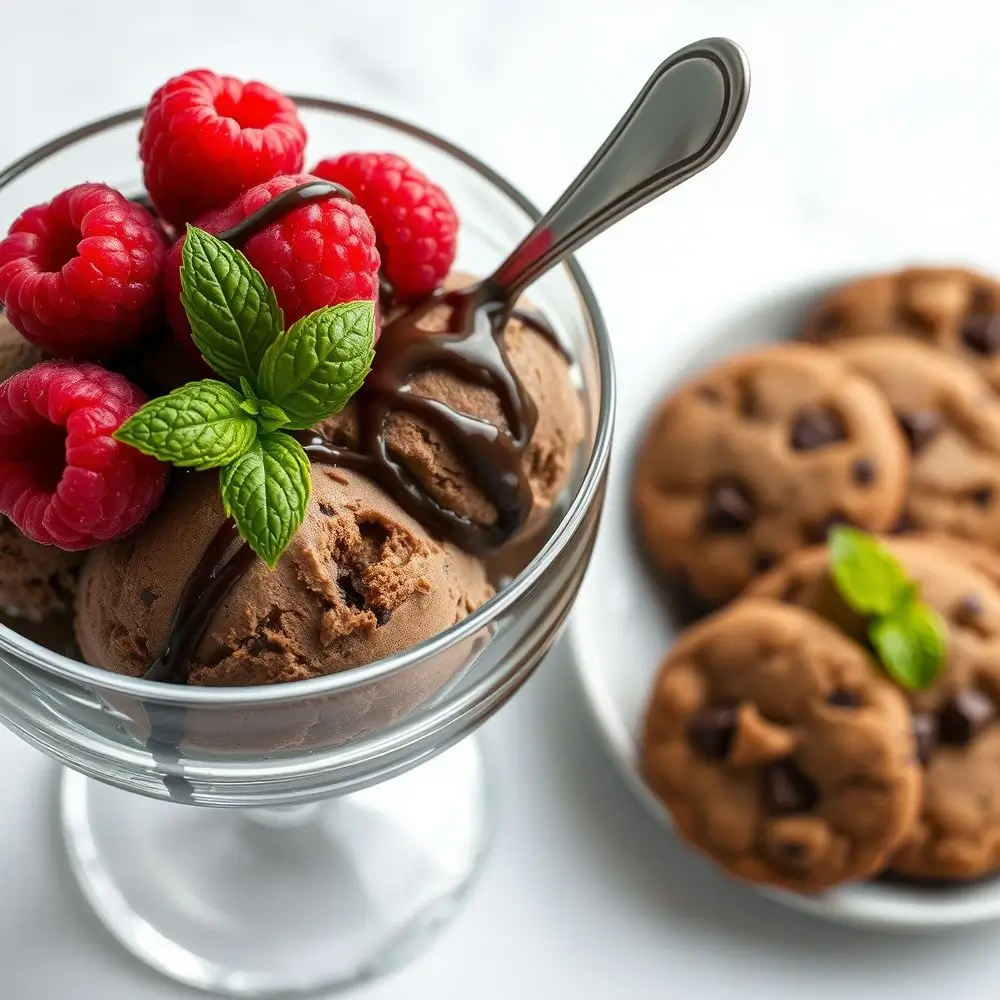
Once your homemade chocolate ice cream is ready, here are some delightful ways to serve it:
- Top with fresh berries like strawberries, raspberries, or cherries.
- Sprinkle some toasted nuts for extra crunch.
- Drizzle with a salted caramel or chocolate sauce for an indulgent treat.
- Serve alongside warm brownies or chocolate chip cookies for an ultimate dessert experience.
- For a playful twist, create ice cream sandwiches using your favorite cookies.
Common Mistakes to Avoid
To ensure your homemade chocolate ice cream turns out perfectly, keep these tips in mind:
- Using low-fat milk or cream: The richness comes from the fat content. Stick to full-fat versions for the best texture.
- Not pre-freezing the bowl: Make sure your ice cream machine’s bowl is thoroughly frozen (usually 24 hours) before use.
- Overheating the mixture: Ensure the chocolate base does not boil; it should only simmer gently.
- Skipping the sieve: For a smoother texture, strain the mixture before churning to remove any cocoa clumps.
- Insufficient freezing time: The ice cream needs time to set properly. Freezing it for at least 2 hours will give it the right consistency.
Storing Tips for the Recipe
To keep your chocolate ice cream fresh and maintain its creamy texture, follow these storing tips:
- Use an airtight container: Store your ice cream in a container with a tight-fitting lid to prevent exposure to air.
- Press plastic wrap: Place a piece of plastic wrap directly on the surface of the ice cream before sealing. This helps prevent ice crystals from forming.
- Store in the back of the freezer: Keep your ice cream in the coldest part of the freezer to maintain its texture.
- Consume within 2 weeks: For the best flavor and texture, enjoy your homemade treat within this time frame.
Conclusion
Crafting irresistible homemade chocolate ice cream using a machine is easier than you think! With just 5 simple steps and high-quality ingredients, you can create a dessert that’s rich, velvety, and tailored to your taste. Whether you’re serving it solo or dressing it up with toppings, this ice cream is sure to be a showstopper. Don’t forget to experiment with healthier alternatives to suit various dietary needs. So, what are you waiting for? Ready to chill and enjoy your creation? Share your experience and delightful variations with us!
FAQs
Q: Can I make this ice cream without an ice cream machine?
A: Yes, you can! After mixing your ingredients, pour them into a shallow, freezer-safe dish. Freeze for about 2 hours, then whisk vigorously to break up ice crystals. Repeat every 30 minutes until you reach your desired consistency. It might not be as smooth as churned ice cream, but it’s still delicious.
Q: Why is my homemade ice cream too hard?
A: It may be too hard due to over-churning or too much sugar. Additionally, consider adding a little alcohol, like vodka (which doesn’t freeze) or light corn syrup to prevent it from hardening too much.
Q: How do I prevent ice crystals in my ice cream?
A: Ensure your container is airtight and consider pressing plastic wrap directly onto the surface of the ice cream. Also, don’t overfill your ice cream machine; leave some room for the mixture to expand as it churns.
Q: What can I do if my ice cream is too soft?
A: Your ice cream may not have been churned long enough. Make sure to freeze the bowl properly and churn until the mixture reaches a soft-serve consistency. If it’s still too soft, let it freeze for an additional hour or two.
Q: Can I add mix-ins to this recipe?
A: Absolutely! During the last few minutes of churning, add your favorite mix-ins like nuts, chocolate chunks, or marshmallows.
Did you try this Recipe ?
There are no reviews yet. Be the first one to write one.